Going off script
The following is information about a series of videos I have recently posted on Youtube. This covers the Sweepwings Juggernaut but it is applicable to other wings. There are foam kits from companies like Flyingfoam.com that come as foam cores and it's up to you to make them into a plane you desire. The key to success is making sure that the plane balances on the CG. If you start throwing heavy motors in the back you'll need to put disproportionally more weight on the nose. So, it's best to start with the lightest motor that can offer the grams of thrust the plane needs. This is the route I went with the Juggernaut. I went for a very light and floaty build with a large propeller.
At a recent visit to a world-class hobby store, I became fascinated with a blunt nose plane. The guy who built it said that he couldn't get it to fly. He put 2 6S batteries up front and still couldn't get the CG right. The plane was old inventory and they cut me a deal to pick up a model that they felt was missing parts. It was the same kit as the plane hanging, and it was up to me to make it fly.
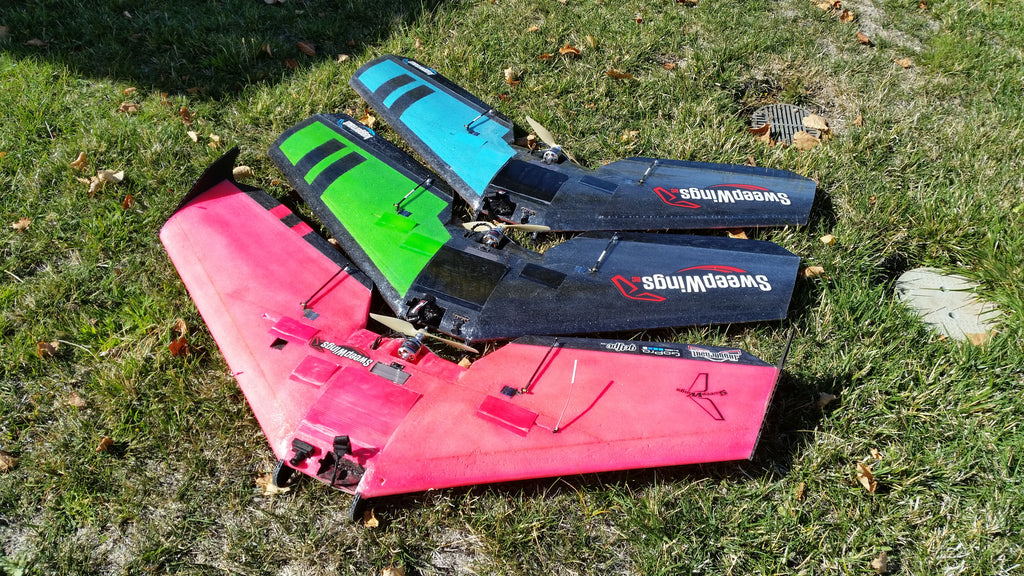
What I didn't know at the time was that I actually got my hands on a great plane that is very much sought after. It was the Sweepwings Juggernaut. The problem with that plane is that at face value I have no interest in it It's too heavy and too loud for the way I like to fly. But, the one thing I believe in is that when you buy a plane it's yours to build off script. There in the hobby store I started to figure out how I would build this plane to suit the way I like to fly. I like slow flights that catch thermals.
This is hopefully an interesting series of videos. I wasn't certain by the time I was done how it would fly or if I was wasting my time and money. I did state up front what I planned to use it for, which was a video platform. On the maiden flight I had taped on elevons and a 3oz fishing weight tied onto the nose. Okay, so it wasn't exactly top shelf, but boy did it ever fly nicely!
In the first video I go over the idea of the plane and discuss how I plan to cut the foam. I show the markups. You can tell the hesitation in my voice, I didn't know if this was too much. At first I planned to cut 2" of foam off the back, I ended up cutting off 2.5 inches. There is a battery bay that sits towards the front of the plane. To use it you would need to cut out a good portion of the foam from that part of the plane, leaving a huge hole. I figured that I would rather have less foam in the back, and get the motor closer to the CG mark. I am not a fan of cutting foam for battery bays.
In the second video I do the cuts and go over spar placement. I used a Dremel Tool with router attachment (it wasn't shown in the video). There were only a couple of minor nicks but the spars were covered by duct tape along the leading edge.
Since I didn't cover this in the video I will here. I used duct tape all along the edges. I used no strapping tape, nor did I use paint. When I watched the build video on the Sweepwings website they painted their wing. It looks lovely. I used to spray paint EPP foam planes. Now I avoid it because the foam collects pools of paint in the valleys of the foam. You often need multiple coats to make it look even and what you end up with is something heavier than you may have imagined. So, that was a no go. Also the fiberglass spars are a no-go. I am sure they are fine but I have a lifetime supply of carbon fiber rods so I used those instead. Aside from the duct tape on the edges I used no strapping tape.
The kit came with 5 mil lamination. I have a good supply of this as well, but I used what the kit came with. Some people don't care for lamination. I can't live without it. It reinforces your plane and cuts down on drag. I also used a little bit of black Ekonokote to make a simple black and white plane.
Here's a list of the parts I used.
Motor: BR2212 1400KV ( I keep calling it 1450kv in the videos, sorry). So, right off the bat you're probably wondering why I am putting on a $5 motor onto this plane? The motor runs 2-4S and has more than 900g of thrust. To get to the next level of performance I would need to move into a D3536 1250KV. That would allow for another 200 or more grams of weight in the nose. This may be a possibility in the future for aerial photography. The problem with adding weight is that the dynamics of the plane changes considerably. It will need more airspeed to not stall. Realistically, I would move to a 3 bladed propeller before changing out motors.
For a cheap motor I have never burned out. They are actually rugged and well made. There is the DYS version of it for a few dollars more. That with a 40A ESC and a 9070 propeller would probably give around 1100 grams of thrust for a short period of time. The DYS offers thicker wires and probably can withstand a bit more abuse.
EMAX ES08MA II 12g Mini Metal Gear Analog Servo- A plane this size is better off with metal gear servos. The one thing I will say about these servos was that one control arm didn't fit on the servo, and it really had me worried for a while. The other two did work fine. These servos may get replaced before the motor does Since this is a plane for video I will put on a gyro/stablizer on this plane. I plan to use a good one. They tend to work fairly fast and digital servos would most likely help to keep the plane floating smoother. The digital servos are around 20% faster. I don't know how much of a difference it would make. So, that's wait and see.
30A ESC- I used the Skywalker 30A ESC. I seem to have good luck with them
On this plane I am using a Hitec Optic 6 FM transmitter with dual conversion receiver. This is old technology. But, let me tell you, it received the signal without dropping once from half a mile away. So, yes, it's good.
The final video was the maiden flight. I was flying close to the ground for a few minutes trying to get the video while flying the plane. Then I shot it up and found a thermal. This was a somewhat weak thermal, it did have lift though not as good as what I see in the summertime. Regardless I think it got to around 700-800 feet for a short time. Usually, at these altitudes, a plane gets bounced around quite a bit. The Juggernaut held together nicely offering a smooth flight in usually harsh conditions.
Blunt nose wings are all the rage these days with a lot of emphases on them for FPV flying. The one thing I have noticed is that it seems to offer a smoother, more stable flight than a standard Delta Wing of the same size. If you're a fan of the Reptile S800 and the Sonicmodels AR blunt nose planes and wanted to venture into a four foot plane, this is an excellent choice. Yes, they are fairly expensive but each wing is cut by hand. This is something you'll probably have for years and the extra money is well spent.


Great Series... Thanks Steve.. I will be going into my sweepwings behemoth build with a lot more confidence... that was a dman good maiden :)
ReplyDelete