INAV Lite

In our INAV Fixed Wing Group on Facebook, there is a question we ask people first coming into the group. It pertains to their experience with INAV. More than half have INAV working on a plane. And yet, there is a significgant number of people looking to build their first INAV plane. What I am proposing is a shortcut to gettting INAV working on a plane. The Seriously Pro Racing F3 is a flight controler that was popular a couple of years ago. Today it's aging technology, and I won't bury the lead, it may be discontinued in future versions of INAV. It's a flight controller board that doesn't offer a built in OSD which you usually find built-in to most current flight controllers. Other than that, it does handle INAV without a problem. Because of this I call it 'INAV Lite.' If you have many years of experience flying fixed-wing planes you may just want to make one of your fixed wing models a recepient of this flight controller. A good candidate is a fixed wing plane that flies well and has a little space for something about the size of another receiver. I won't mislead you, INAV has a learning curve. It's interstesting, and no, you won't be diving into something that's 40 layers deep. You will have to get a flight this flight controller, solder 24 header pins onto it. Then you're going to have to learn about receivers, and more importantly serial receivers. You hook up the flight controller and receiver to your computer (without the plane) and work on setting it up for the first time. You will know when the radio is talking to the receiver. They you can figure out how to make your switches work and set different flight modes. You can do this over a course of a week or two, chipping away at it when you have time. The good news is that when you have this worked out the skills are transerable to boards like the F405 Wing. You will eventually want a GPS. The BN-220 has a cable that hooks right up to the SPRacing F3, thus, no soldering. It's also a tiny GPS unit that costs less than $10.
The Seriously Pro Racing F3 Flight Controller-Dirt Cheap
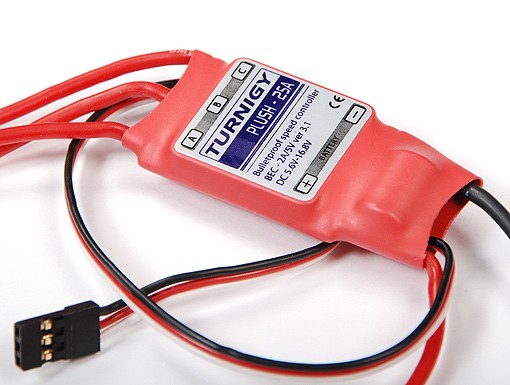
There is a reason why I call this option "iNAV Lite." With the SPRacing F3 flight controller you can: 1. Use your linear speed controllers- Oh, I know you've got your favorite Turnigy Plush speed controller Before you start cutting the red wire on the BEC, or start moving on to OPTO speed controllers soldered to the power distribution board why not see if you can simply get INAV working? Avoid the rat nest of wires, this F3 flight controller RUNS ON 5 VOLTS! Just plug in your linear ESC like you normally do. It has enough power to power the SPRacing F3 board and your receiver. Of course, if you're pushing your battery to the limit then, yes, you'll need to go another direction. Otherwise, if you're just cruising, the linear BEC is fine.
2. Learn to solder on something very cheap- Micro soldering pins isn't easy. It's a skill. This board isn't hard to solder, but for a first time, it will be a handful. If it blows up you can feel good knowing that it wasn't a $50 F405 Wing board. Once you get the hang of micro soldering, this board can be soldered in under 20 minutes. i found that all I really need is the 8 columns of 3 row pins that are precut for this board. For those slow on math that's 24 solder joints. If you're not a fan of other soldering projects but want a GPS. The BN-220 comes with cables that hook right up to this board without additional soldering. If you check around, you should be able to get this board and GPS together for under $25 (US).
 |
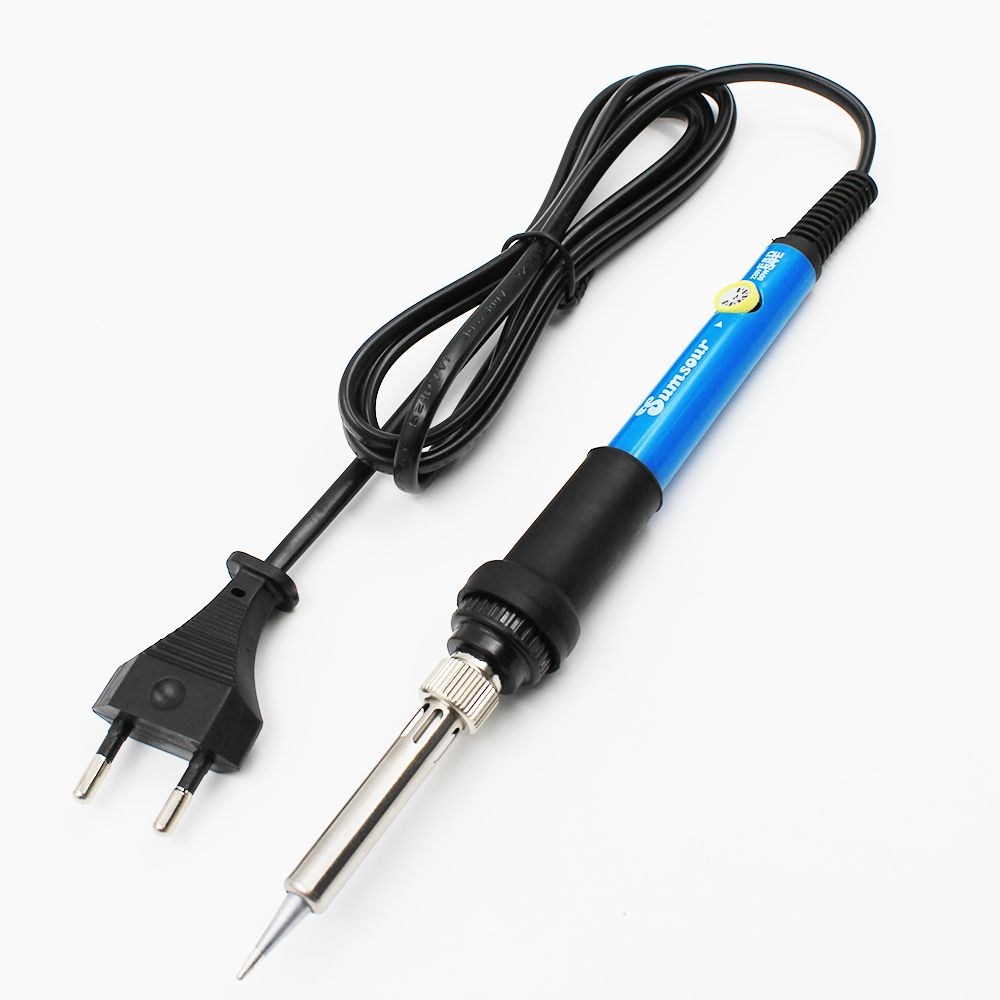
| A decent soldering iron for under $10 |
5. Look at all those servo hookups!- One of the larger selling points about the SP Racing F3 is that it has the ability to hook up 8 servos. A traditional plane with separate ailerons and flaps uses six servos. Thus, for planes like the Pheonix 1600 or 2000 with flaps this is perfect. I am also going to put it on a used Radian Pro I picked up. It's not a bad plane, but the ability to keep it level at different speeds will help.
 |
| You can hook up as many as 8 servos to this flight controller! |
No OSD unless you really, really, really want it.-There are a lot more steps to jump through to get an OSD to work with this flight controller. The hookups are similar to a GPS, +5V and Gnd, TX out and TX in. It will hook up to a minimOSD which is around $7. Of course, the million dollar question is, why? For the extra expense of just the Minim OSD you can buy and F4 board with an OSD built in. Still, If you love your F3 flight controller but want video as well, it can be done. Not impossible, just more hoops to jump through.

INAV for Line Of Sight (LOS) planes
Not every plane is an ideal candidate for FPV cameras. A permanent mounting solution for an FPV camera isn't possible or would change the cosmetic appearance of the plane. Perhaps some plans are just okay being line of sight planes. But still, wouldn't it be nice to have the option of a return to home feature? Wouldn't it be good to have flight stabilization and a few other cool features of INAV? You can still plan missions and do many of the things INAV is known for. You can also do it without breaking the bank nor taking up too much space in your plane's fuselage. The reason I am excited about the SPRacing F3 flight controller is because it allows me to put a flight controller into a plane that I wouldn't consider to be a good candidate for a flight contoller. I have quite a few very good LOS planes and thought they may not ever see a camera, they will get a flight controller. Flashing the firmware is tricky. If you try to flash it like other flight controllers it's nearly impossible. if you follow these steps it's actually quite easy.
What you will need- STM32 Driver link: http://www.st.com/en/development-tool... CP210X USB TO UART downlaod: https://www.silabs.com/products/devel... SP Racing F3 Manual: http://seriouslypro.com/files/SPRacin...
Steps
1. Install STM32 Driver first
2. With board plugged in (It doesn't have to be in boot mode) install CP210X
Step 3
You should see INAV want to communicate on Com Port 5, or some number you have never seen before. Go to INAV. Select SPRACINGF3 board, get the latest INAV, turn OFF everything (full chip erase, everything) except for manual.
INAV should flash
Step 3
You should see INAV want to communicate on Com Port 5, or some number you have never seen before. Go to INAV. Select SPRACINGF3 board, get the latest INAV, turn OFF everything (full chip erase, everything) except for manual.
INAV should flash
More information can be found at this video, follow the instructions, you can flash the board to either Betaflight or INAV. The instructions are the same.


These install instructions are not for Mac users correct?
ReplyDelete