The missing instructions

If you buy the Phoenix 1600 & Phoenix 2000 kit you'll find that the instructions are a bit light. When it comes to mounting the motor there are two ways, the hard way and the easy way. Since I own both planes I am proud to say I've done both.
The hard way
The holes on the standard crossbar that comes with most motors that fits this plane line up perfectly to the holes on the front of the white plastic cowl. You can simply use a tape and die set to put in machine screw grooves into the metal then use the appropriately sized machine screw to secure the motor to the plane. It's a bit of extra work but it works like a charm.
So, why am I even bringing this up? If you bought the Phoenix 1600 in particular as plug and fly Andrew Newton has mentioned that the 750KV motor is a bit too underwhelming and switched it out for a similar motor that was 1000KV. But, you may have a spare motor or two sitting around that would do the job with some slight modification. Find a cross bracket, tap it and use it. You can't really get to it with nuts and bolts because the bottom of the motor will be difficult if not impossible to get to.
The Easy Way
In the kit there is a black plastic disc, a flat metal disc, and 9 screws. 4 are machine screws and 4 are similar to wood screws. The black plastic is your motor mount. There is a spot to run your motor wires through so that they don't rub against the motor. The four machine screws are used to mount the motor. Use Loctite to secure the screws in place The vibration over time can loosen the screws.
 |
| Black plastic motor mount, notice cable run through the plastic? Notice the metal disc in the background.? |
On the outer parameter of the plastic disc are four screw holes that match up to the screw holes one the cowl. Your job is to line them up for installation. This is the hardest part of the motor install. When it's completed it looks like this.
 |
| Motor properly mounted. The black plastic mount is inside the plane. |
While you're at it.
The speed controller can stay above and sit next to your battery. But you'll constantly be working around it. Take a few extra minutes and get it out of your way once and for all. Remove the batter tray and mount it under the battery tray. I am going to include a video of some guy removing the tray. Please note that there are four screws that hold the tray to wood glued to the side of the fuselage. The guy in this video just rips it all out by the battery strap. I found that if you remove the four screws and give a little firm pressure the top of the tray separates from the side mounts. You can take his advice and remove the 41g ballast from under the tray. My advice is to not to this before you have checked the CG and flown the plane. You don't want to risk making this plane tail heavy. But yes, anything to make the plane lighter is a good thing.
A tip about motors
There are a lot of motors that can work with this plane. Whatever you use has to have a front facing shaft. That means the shaft comes out the side where the wire are. You can either buy motor that is front facing such as the Turnigy 2217 16turn 1050kv 23A Outrunner, or the EMAX GT2215-09 1180KV
Or, you can do a manual shaft reversal.
This guy is using an arbor press. It works well for the task but most of us don't own one. We should own a vice. Simply do the same thing with a vice, but on the side you want the shaft to come out use a socket such as a 12mm socket to allow the shaft to come out the other side without letting the shaft get squeezed by the vice. (Visualize it, the shaft is getting pushed out one direction and it will show up on the other side. You need the socket to allow space for it to pop through without touching the vice). It takes a lot of force to move it from one side to the other. You will doubt yourself the entire time you do it. But it will work.
 |
| Shaft reversal in vice, socket on left. |
Having done the shaft reversal many times, and being comfortable with the process my feeling is it's worth going out of your way to find a motor where the shaft is reversed.
Motor considerations-
Weight:
The optimum motor for this plane weighs around 80 grams. You can get by with something that is 70g (EMAX GT2215-09 1180KV ) or 90 grams The Turnigy and DYS D3530 weigh 74 grams, but need a shaft reversal. The good news is that you can buy this motor in a lot of different KVs.
If you make the nose too light then the tail will be too heavy. This is a no-win situation. This isn't a plane you can add nose weight to easily. If the nose is too heavy then you'll be auditioning lighter batteries to make it fly. You may pick up bad flight characteristics like going into a spin when it stalls. Thus, to be safe, keep the weight as clsoe to 70g as possible.
The D3530 comes in three different KVs. 1100, 1400, and 1700 KV. It can accept 2 through 4 S batteries. If you're not opposed to doing a shaft reversal this may be a neat little option.
The higher the KV the more speed performance you'll get from the plane which should make it fun if you're looking for speed. Of course your flights will be shorter. If you plane of gliding you'll want a slower motor, such as 1000KV.
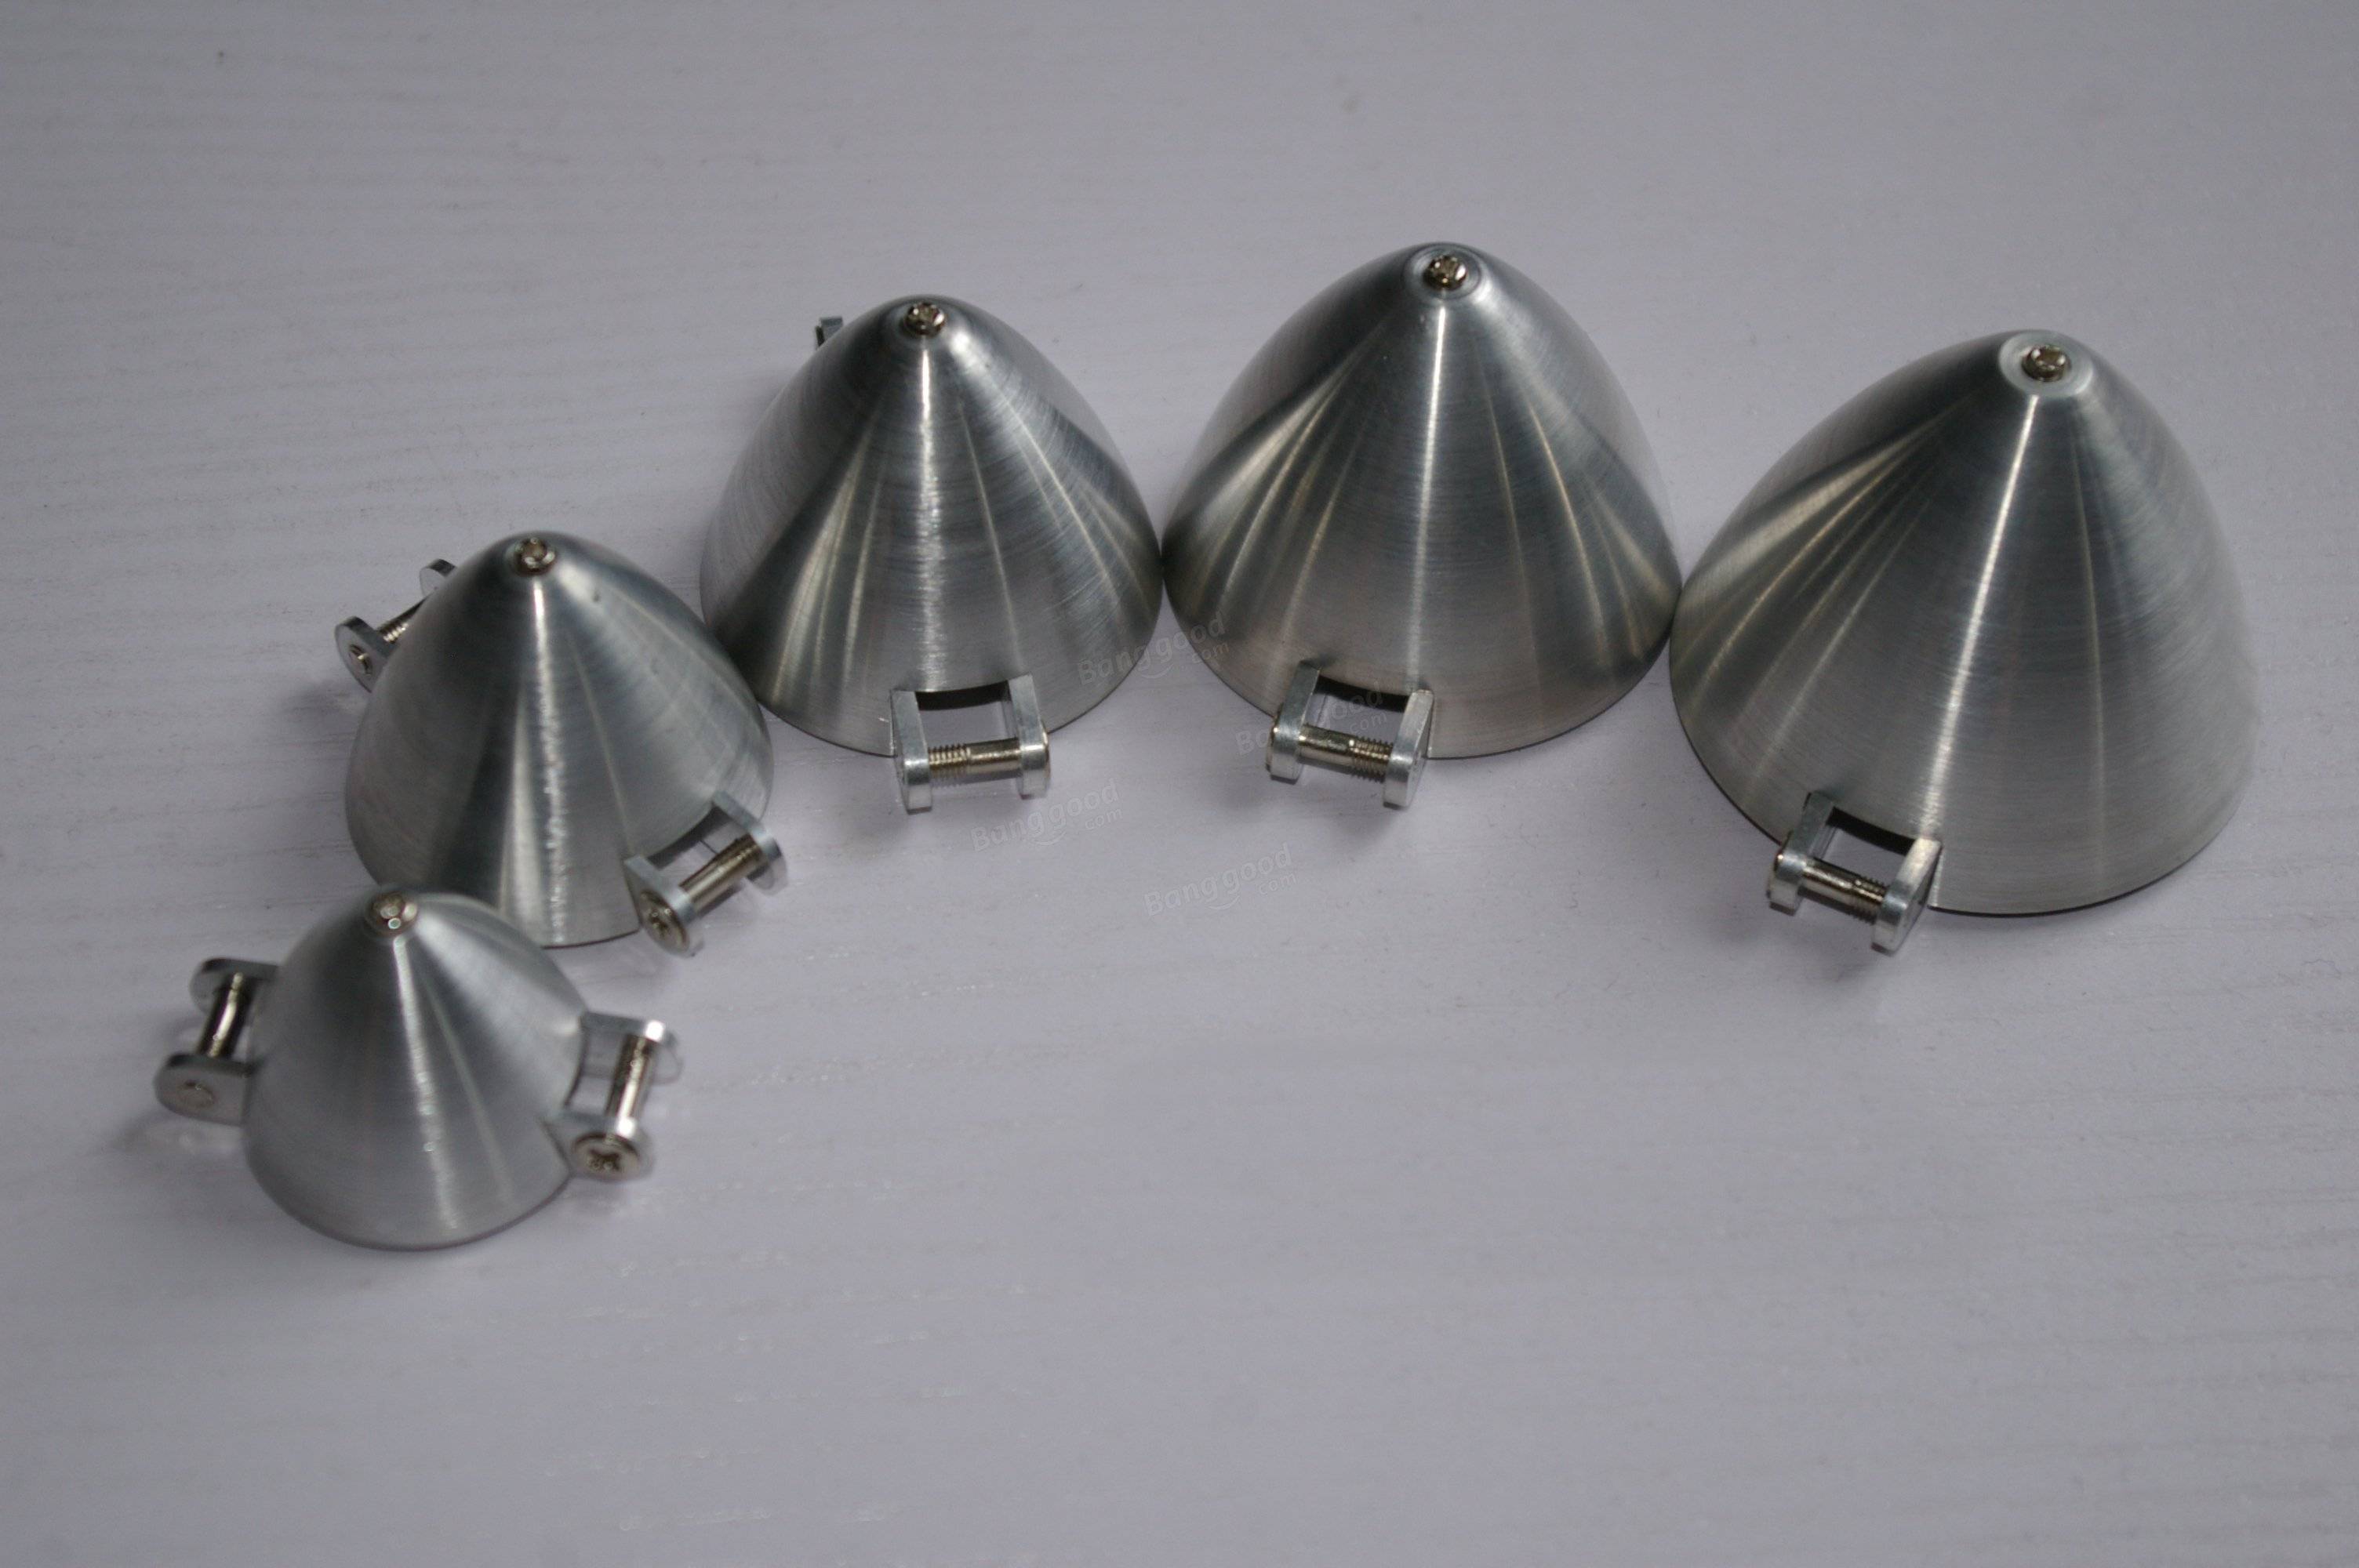
Another avenue you'll find yourself running down is that the spinner that came with the plane may not fit on the shaft of your motor. You'll be searching for a new one. I believe 45mm is the diameter size of the spinner. You'll need it to match your shaft size as well. I use Gemfan spinners and propellers from Banggood.
If you make the nose too light then the tail will be too heavy. This is a no-win situation. This isn't a plane you can add nose weight to easily. If the nose is too heavy then you'll be auditioning lighter batteries to make it fly. You may pick up bad flight characteristics like going into a spin when it stalls. Thus, to be safe, keep the weight as clsoe to 70g as possible.
KV:
The D3530 comes in three different KVs. 1100, 1400, and 1700 KV. It can accept 2 through 4 S batteries. If you're not opposed to doing a shaft reversal this may be a neat little option.
The higher the KV the more speed performance you'll get from the plane which should make it fun if you're looking for speed. Of course your flights will be shorter. If you plane of gliding you'll want a slower motor, such as 1000KV.
Searching for a new spinner
Another avenue you'll find yourself running down is that the spinner that came with the plane may not fit on the shaft of your motor. You'll be searching for a new one. I believe 45mm is the diameter size of the spinner. You'll need it to match your shaft size as well. I use Gemfan spinners and propellers from Banggood.
Before you go down this road you can get by with a standard propeller. Put one on that is the correct size for your motor and see how you like the setup. The folding propellers simply add to the ability for this plane to glide a bit longer. When you have the motor and proper propeller size you like you can then buy the spinner setup. It's not hard to install. The proper size for a 1000kv motor is 9x6.
Summing it all up
The Phoenix 1600 is a beloved plane. For what you get, it's dirt cheap. You can leave the motor off and make it a slope glider. You can 4-6 channels with so many features that you can fire up with most of the computerized radios such as crow and camber.
This is an amazing plane, but it's not a beginner's plane. They try to sell it like it is, but it's not. So, take your time building it. Chances are likely you have other planes. Perhaps you live somewhere that winter keeps you indoors and you like working on a project that you put a few hours into each week. Get the parts you want and get it set up right. If you do your homework and take your time this will be a plane you'll enjoy for many years.


what is the hole spacing in the mmotor mount plate ?
ReplyDeleteGood website! I truly love how it is easy on my eyes it is. I am wondering how I might be notified whenever a new post has been made. I have subscribed to your RSS which may do the trick? Have a great day!
ReplyDeleteLiPo battery 3.7v